Mini Lemon Raspberry Bundt Cakes
Easy to make, perfect to share!
These mini lemon raspberry bundt cakes are one of my favourite recipes to make for a large crowd because they are a simple, straight forward recipe yet they are always a crowd pleaser! Who doesn’t love lemon raspberry?!
The Ingredients
Like most of my recipes, we will use unsalted butter for these mini cakes because this gives us full control over the amount of salt added to the recipe, and in this case, we don’t really want any! Both white sugar and brown sugar is used in this recipe because of the sweet, moist flavour that comes from the combination of using both.
You might be wondering why we use sour cream in these cakes, and the answer makes perfect sense! Sour cream does a few things in baking, it helps the dessert set more efficiently in the oven which means less time is needed for baking, allowing us to have a thoroughly cooked baked good without crispy edges. Also, sour cream adds a level of moisture and tang in baked goods that perfectly compliments and citrus desserts in my opinion. You can use unsweetened greek yogurt as a 1:1 sour cream alternative if you prefer.
We use a combination of lemon zest and lemon juice in this recipe for a well balanced lemon flavour. Again, we use both baking soda and baking powder because I find the combination of both lends to a perfect consistency in the cakes.
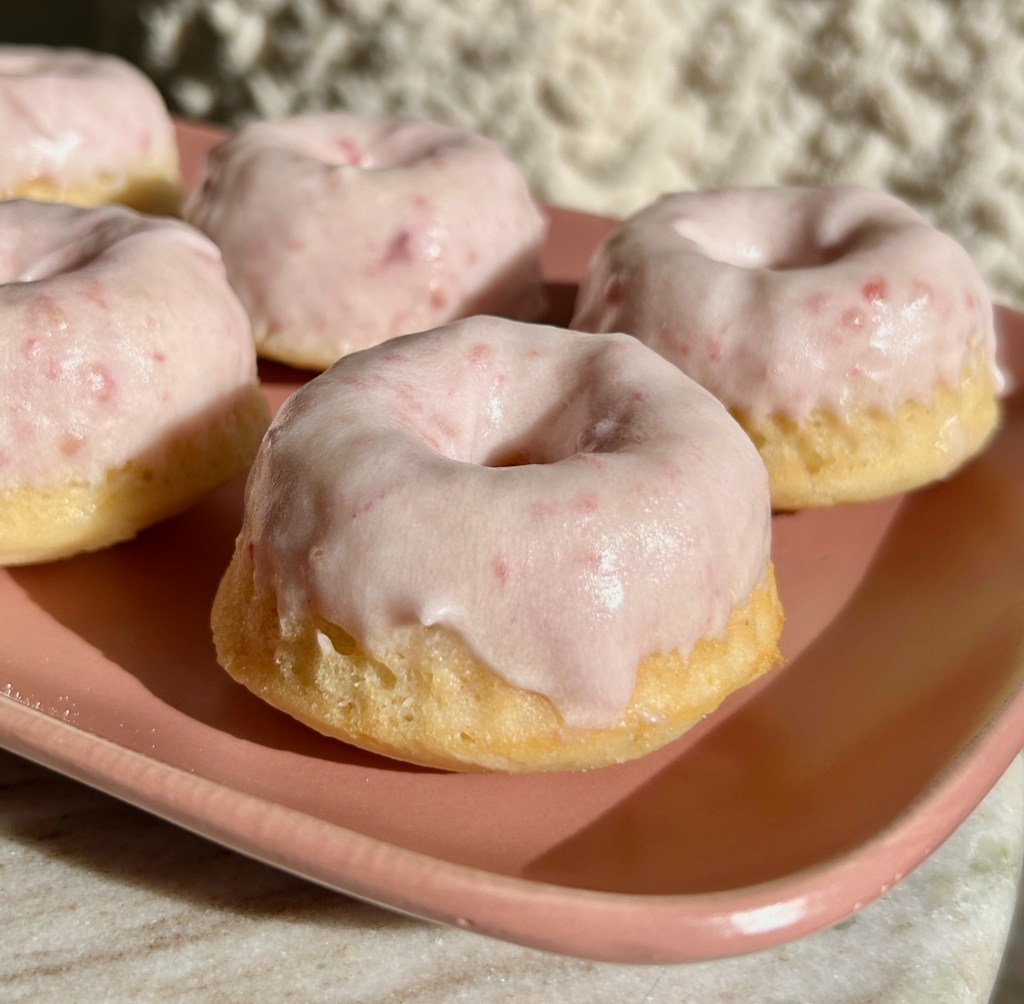
The icing is a really simple raspberry glaze. By raspberry puree, I essentially just mean some fresh raspberries you have mushed up with a fork, or even raspberry jam works well here. Mix all of the icing ingredients really well and then you have to perfect thin glaze to dip the cakes in.
The Steps
Start by preheating your oven and grabbing all of your ingredients out of the fridge / pantry. There is nothing worse than getting started on a recipe and realizing you are out of something!
Combine your butters and sugars and mix well using either a whisk or an electric mixer, either work well! Once your butter and sugars have creamed together well add in your eggs, sour cream, lemon juice and lemon zest. Again mix well!
I always try to combine my dry ingredients before adding them to my wet mixture to ensure a more thorough combination of ingredients. So, do this, and then add the dry ingredients to the wet mixture gradually, mixing gently as you go. Don’t over mix as you will lose the texture and fluffiness of this dessert if you do!
To pipe these in to my mini bundt pan I transfer the dough in to a large ziploc freezer bag and then cut the tip off, about 1″ high, and use this to pipe the batter into the tray. This works best for precision and prevents mess!
Bake for 14-16 minutes, until a toothpick comes out clean! You could also make this dessert in to a loaf and bake in two loaf pans for about 40-55 minutes.
Let the dessert cool completely before glazing and then let the glaze set in the fridge for a couple hours.

Lemon Raspberry Mini Bundt Cakes
Equipment
- 1 mini bundt pan
- 1 electric mixer
Ingredients
For the cakes:
- 1 cup butter room temp
- 1 cup white sugar
- 1 cup brown sugar
- 1/2 cup sour cream
- 4 eggs
- 3/4 cup lemon juice about 5 lemons worth
- 2 tbsp lemon zest
- 3 cups flour
- 2 tsp baking powder
- 1 tsp baking soda
For the icing:
- 1/4 cup plus 2 tbsp melted butter
- 2 cups icing sugar
- 2 tbsp milk
- 2 tbsp raspberry purée
Instructions
- Start by preheating the oven to 350 degrees.
- Next, in a mixing bowl, combine your butter and sugars and mix well until fully combined.
- Add in the eggs and sour cream. Once combined add in the lemon juice and zest. Mix this all thoroughly.
- Combine the dry ingredients, flour, baking soda, baking powder and then gradually add to the wet mixture. Don’t over mix!!
- Well grease a mini Bundt pan, or 2 loaf pans / 1 large Bundt pan, either will work the cooking time will just change! If using mini Bundt pans I recommend transferring the batter to a large ziplock freezer bag and then cutting the tip off to pipe the dough into the pan.
- For mini cakes bake for 14-16 minutes. For a loaf bake for 40-50 minutes.
- While it’s baking make the icing!! Combine all the ingredients and mix really well until the icing is smooth and your desired consistency.
- Let the cakes cool completely before icing. Enjoy!
Video
If you love these as much as I do, let me know! Write a review, tag me on Instagram, or send me an email with a photo of your creation. I can’t wait to see what you come up with! Happy baking!