Start by combining the wet ingredients and whisk well in a glass mixing bowl. Combine all of the dry ingredients in a separate bowl and whisk this gently with a fork to combine. Then, gradually add the wet mixture into the dry mixture, whisking gently and often until fully combined and no lumps are present!
Next we form the dough! Form the dough into a ball using your hands a floured, cleaned counter surface. Once you have achieved a ball of dough, cover in Saran Wrap and place the dough in the fridge for at least an hour but up to a full day. This is an important part of the recipe that helps the donuts keep their shape while having a crispy outer exterior and a soft, cakey inside.
Remove the dough from fridge and roll out on a floured surface using a rolling pin to a 1.5” thickness. I prefer to cut out the donuts using a donut cutter or a large jar, whatever works for you! If you don't have a donut cutter, think a wide mouth mason jar or something along those lines! If using a jar, you will then have to use a smaller shape to cut out the centre of the donut - this could be a small glass milk jar or the opening of a water bottle, you get the idea!
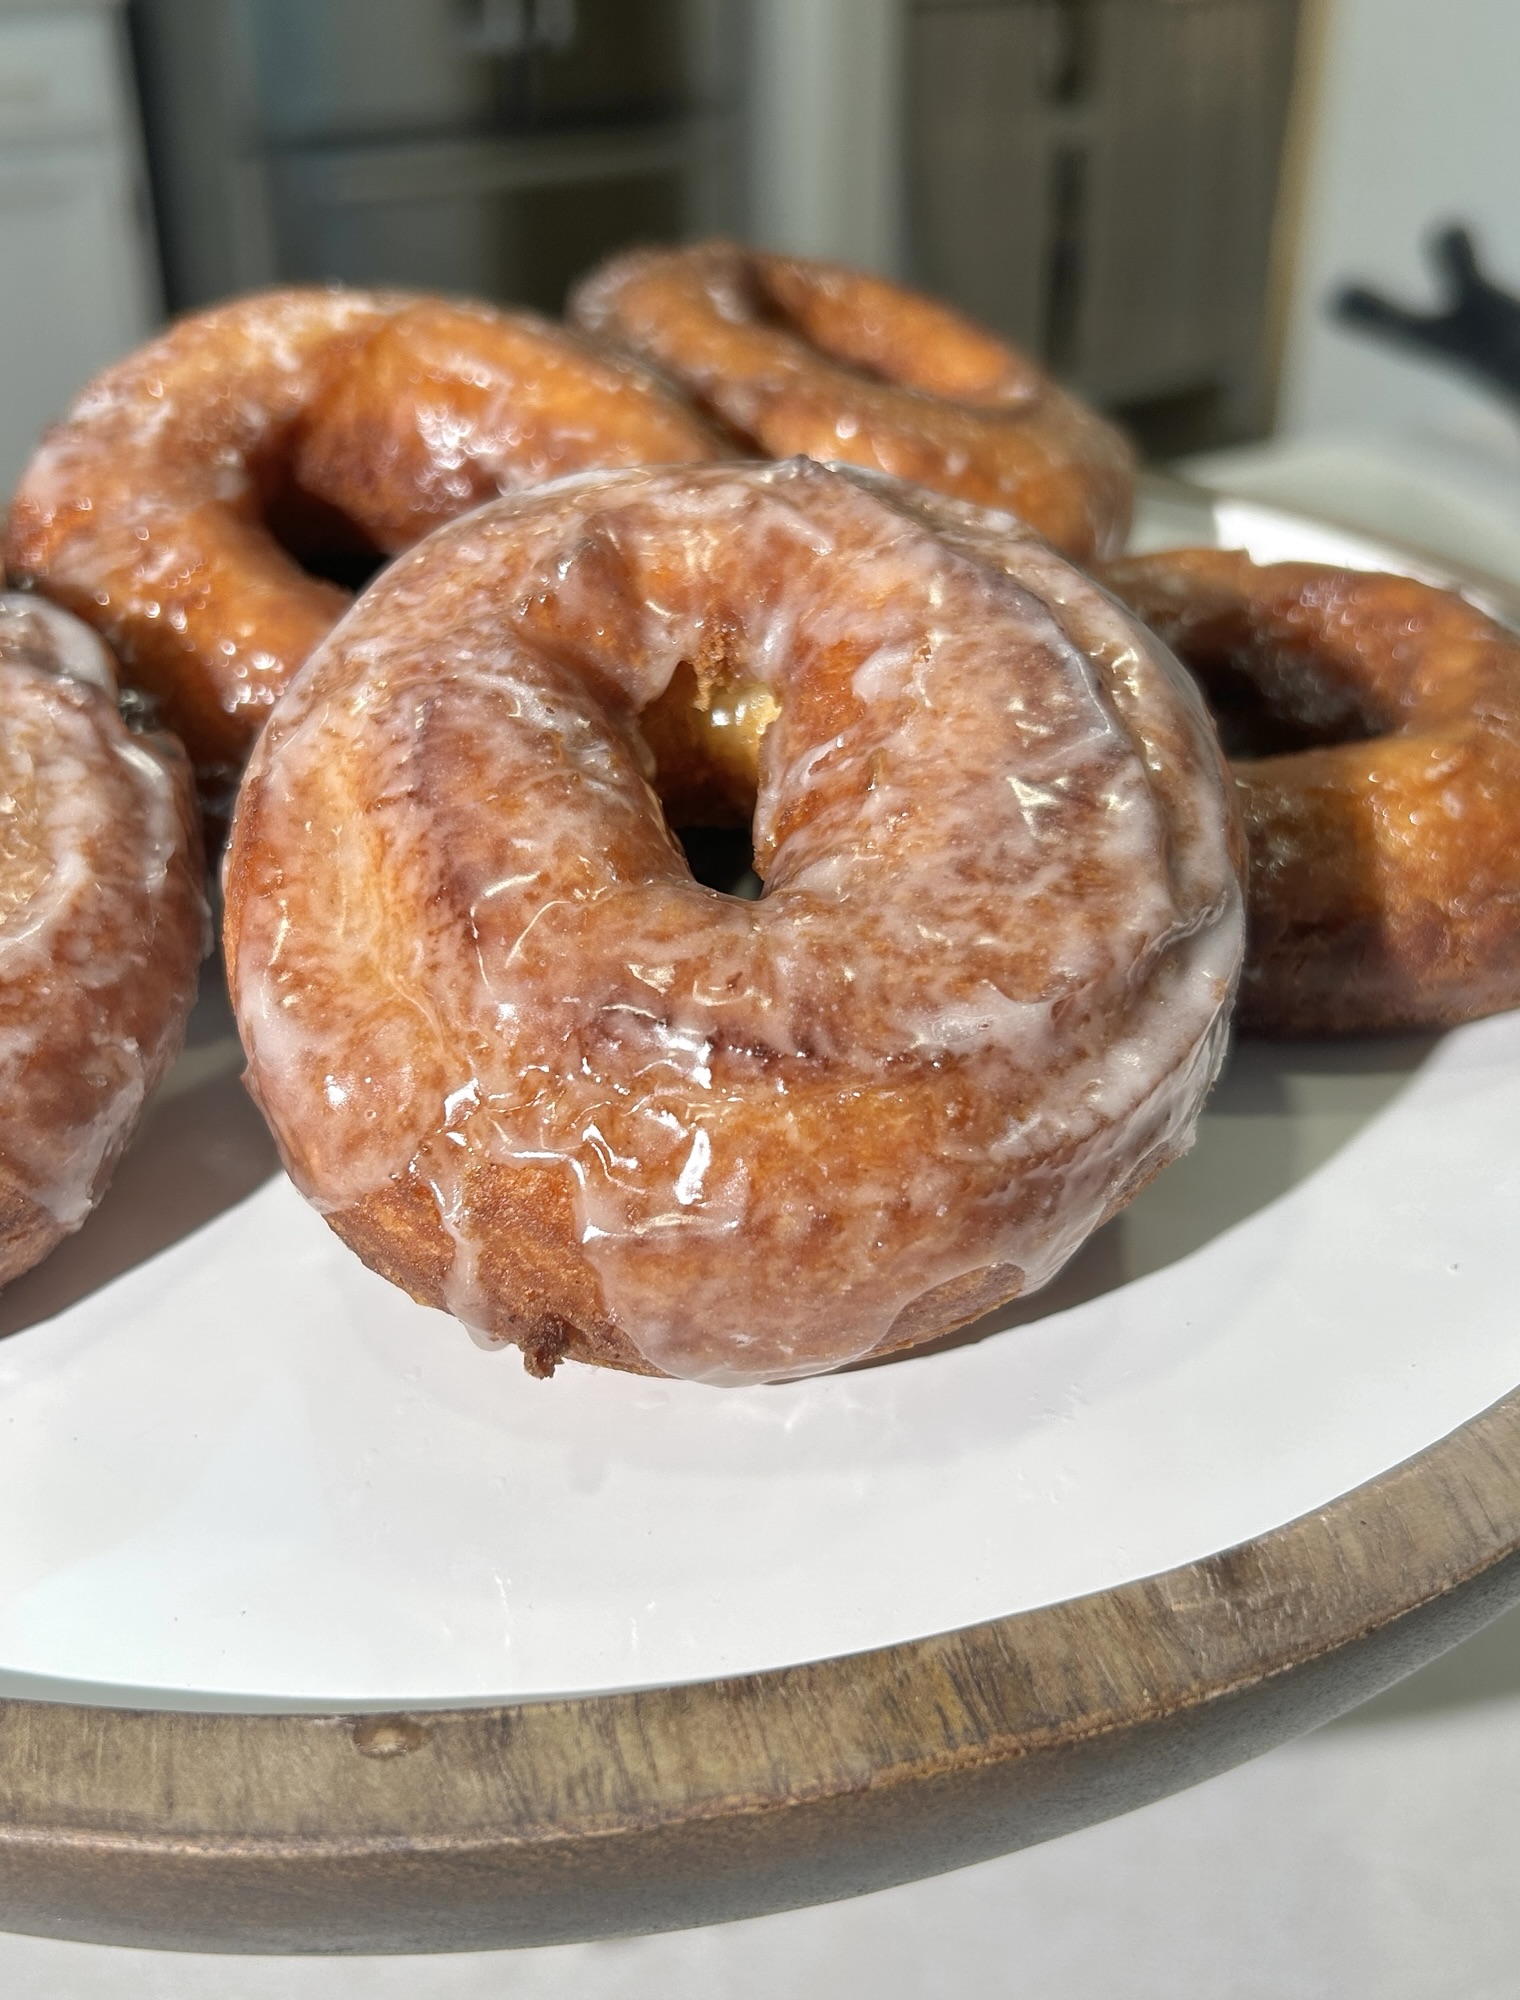
Finally, use a knife to create the slit along the top of the donut for that true sour cream glazed vibe! Cut about 3/4 of the way along the top of the donut, not going too deep, just enough to break apart the dough in the top layer.
I prefer to make these in a Dutch oven or deep pot. You’ll need enough oil in the pot for about 3-4 inches of depth, minimum! The deeper the oil the better, in my opinion! Bring this oil up to heat on medium heat, you can tell it’s ready for the donuts by getting your hands wet under the tap and flicking water in to the oil. If it sizzles, it’s hot! If the water doesn't create a sizzle, the oil needs more time to heat up.
Add the donuts and let them fry in each side for about a minute or two until brown. They burn quickly if left too long so keep a close eye on them. It is also really important to keep your stove on low to medium heat because you do not want the oil to burn while the donuts are in there! And it can heat up and burn quickly, trust me! Remove the donuts from the oil onto a drip rack and glaze them immediately!
I do recommend making the glaze before you start to fry your donuts for ease. Create the glaze by putting all ingredients in a bowl and whisking until smooth. If the glaze is too thin add a spoonful of sugar, if it is too thick add a splash of water.
Pour the glaze over the donuts as soon as you remove from the oil and leave them on a cooling rack for the glaze to harden and set. Repeat this process for all the donuts, frying about 4-6 at a time depending on the size of your pot.